xiphmont: (Default)

The holidays are over and I'm back to having a little hobby time here and there. With the LED mod assembled and in place, the coaxial illuminator is certainly much brighter than the original halogen-powered unit. Of course, an LED ring light still utterly destroys it, but the brightness level of the modded version is usable in a lit room, where the original halogen version really wasn't. So, yay.

However... contrast is damaged somewhat? Did I get some optics dirty?

A little investigation reveals our problem is at the primary constraint in the optical path. Specifically, the coaxial illuminator is designed to focus down an image of the light source right at the plane of the internal adjustable iris in order to get as much useful light through it as possible. You can see the glowing filament clearly when the iris is nearly closed, and it passes through cleanly with the iris open.

When the light doesn't clear the iris but shines on it instead, the light pollutes the image. Interestingly, this means the adjustable iris and coaxial illuminator don't really coexist well, a problem I hadn't noticed before but yup.... sure enough... the illuminator is only really useful with the iris wide open.

Possibly for this reason, the slightly later SZH10 dispenses with the adjustable iris for a fixed aperture, instead offering the iris as an accessory 'slice' that can be placed later in the optical path. This neatly avoids the contrast problem.

In any case, my problem is 90% a slight misalignment, easily dealt with.

That said, the square die image is just a bit too large to fit cleanly through the round iris opening even when aligned. A little optimization of my illuminator optics is probably called for.

But... can I actually do better? Olympus knew what they were doing, and if there was an obviously better lens design they'd have used it, right?

Stay tuned for our next exciting episode!

xiphmont: (Default)

The end result of more playing around with the plastic LED collimaters: they're not going to work well. Dang.

The microscope wants a small diameter parallel light beam, and the plastic collimaters just won't do that. Even the tight spots overfocus and overmagnify, and there's no real room for adjustment.

Noq2's approach works because of:

a) brute force: 60W of LED light is the equivalent of around 350W of halogen light

b) a large die LED (7mm diameter!): that's more like a small COB

In his case it's a 'close enough' approximation to infinity focus because of the huge die and tons of output. There's enough nearly parallel light in there along with all the rest to make it work. Most of the light that makes it into the optical path (which is likely only 5-10%, the beamsplitter doesn't combine much) is just lighting up the inside of the microscope body, but the light that does make it all the way through is diffuse and even and nice. Brute force works!

Me, I want as much of the light to be usable as I can get.

So I'm probably back to using lenses. The stock Olympus setup uses two air-gapped elements with a total focal distance of 11-12mm placed on either side of a halogen bulb. The bulb filament intentionally sits just in front of the focal point to defocus the image slightly. (EDIT: Actually, I'm wrong here; it's just past the focal point in order to produce a focused image of the bulb filament at the point of the iris in the microscope body).

Olympus uses some really nice glass. The first condenser element is a partial shortpass to filter out some of the infrared. The second weaker element nearly touches the first and finishes the collimation job. Two 45 degree front-surface (!) mirrors direct the light into the beam combiner body.
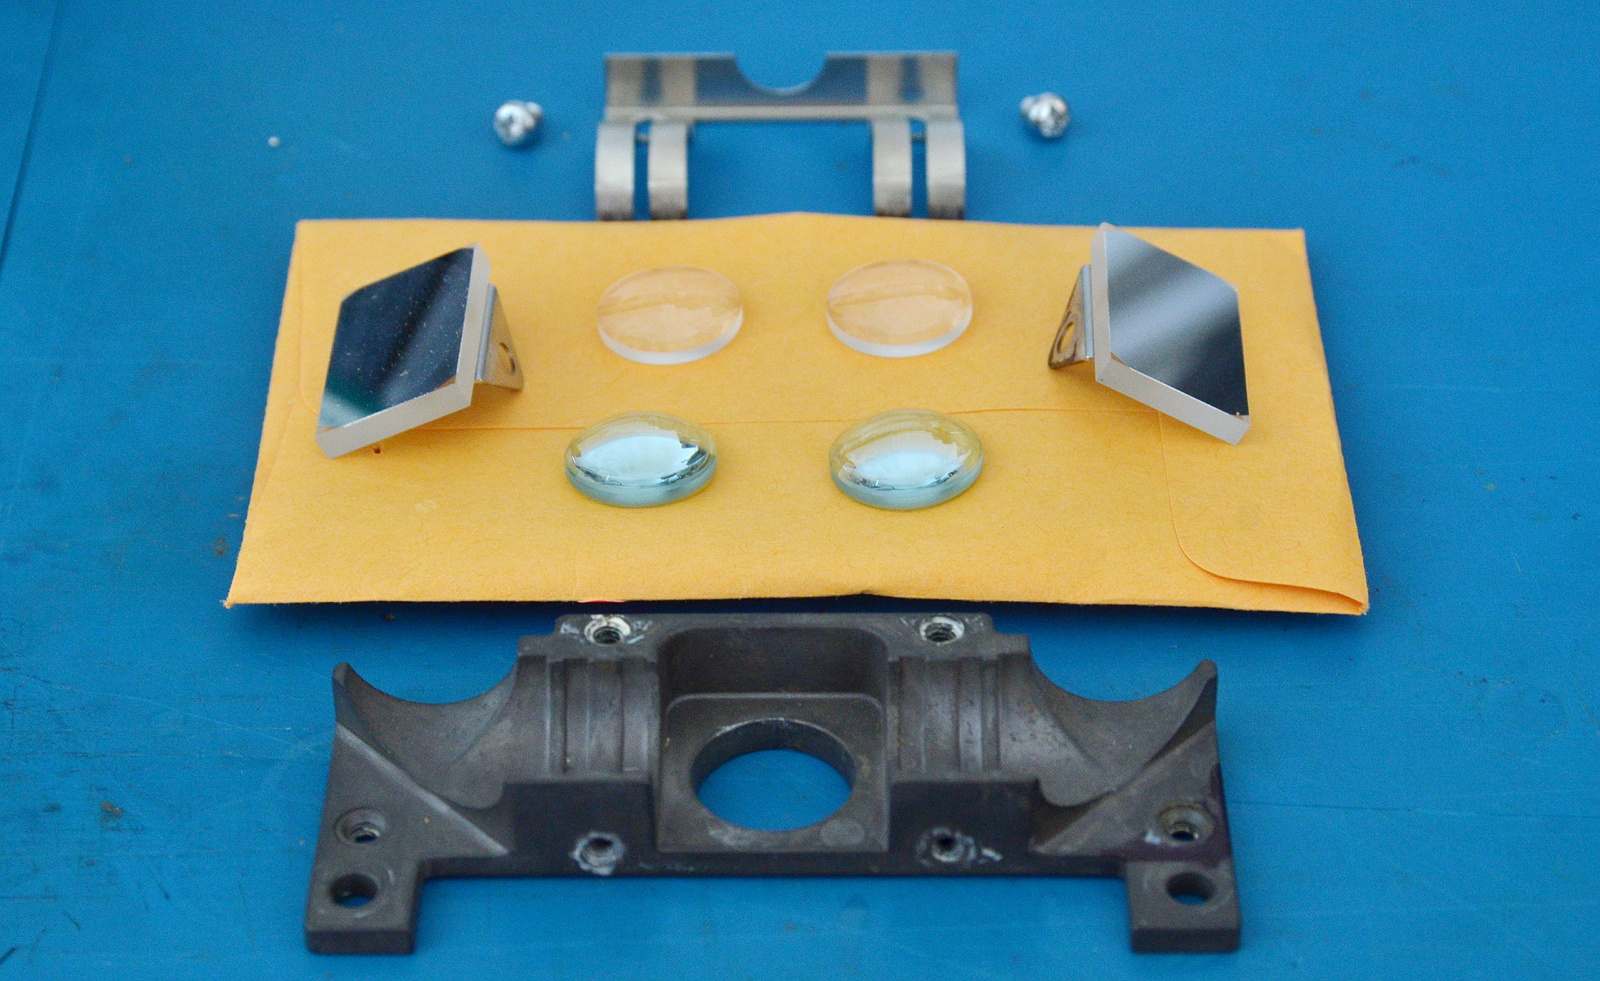
The biggest constraint on the collimater design is the diameter of the optical path through the scope, which is a little under 15mm at multiple points. Opposing that, we want to collect as much light as possible from the LED into the condenser, which means putting the lenses as close to the emitter as possible, and so choosing the shortest practical focal length. Focal length trades off against beam width; the shorter the focal length, the more the 'image' of the LED die is magnified and the wider the final collimated light beam.

The original Olympus optical design expands the image of the halogen bulb filament into a beam of approximately 15mm diameter, matching the optical path. The Cree XP-L LEDs I'm using have a die almost the same major dimension as the bulb filament.

A more powerful LED with a bigger die probably isn't useful if we're going to use a single-stage collimator. And an XP-L is easily the highest-flux LED I can get with a die this small.

The XHP70.2 might put out 5x as much light, but if that's over 5x as much area, it's not a net gain given the constraints (I'm going to test it anyway, but I don't have high hopes). The big die of the XHP70.2 isn't a problem for noq2 because he's not using any optics that magnify its apparent size. He could usefully apply a 15mm COB.

This also means we're not going to improve on the original Olympus lens choices without going to a more complex beam reduction design that probably won't fit. (EDIT: Actually, I can probably fit a Keplerian design in there)

I'm going to try it Olympus's way. Given how dang nice those lenses are, I'm totally yoinking them. And since I'm messing so much with the physical layout, I want some adjustment ability. Which means at this point-- I'm most of the way back to my original design. Oh well. At least much of it is actually built and this has become an iterative process. A little at a time rather than one fell swooooooop.

So... The next step is making some new lens tubes.

And mounting the Olympus lenses in them (using nice, reversible, not messy O-rings).

This gives me the lenses at the proper separation in a durable, flexible package. Now I have to make a tube mount that fits inside the lighting enclosure.

xiphmont: (Default)
Oh. I think I discovered the real reason this coaxial illuminator was only $90, which was cheap even with missing accessories:

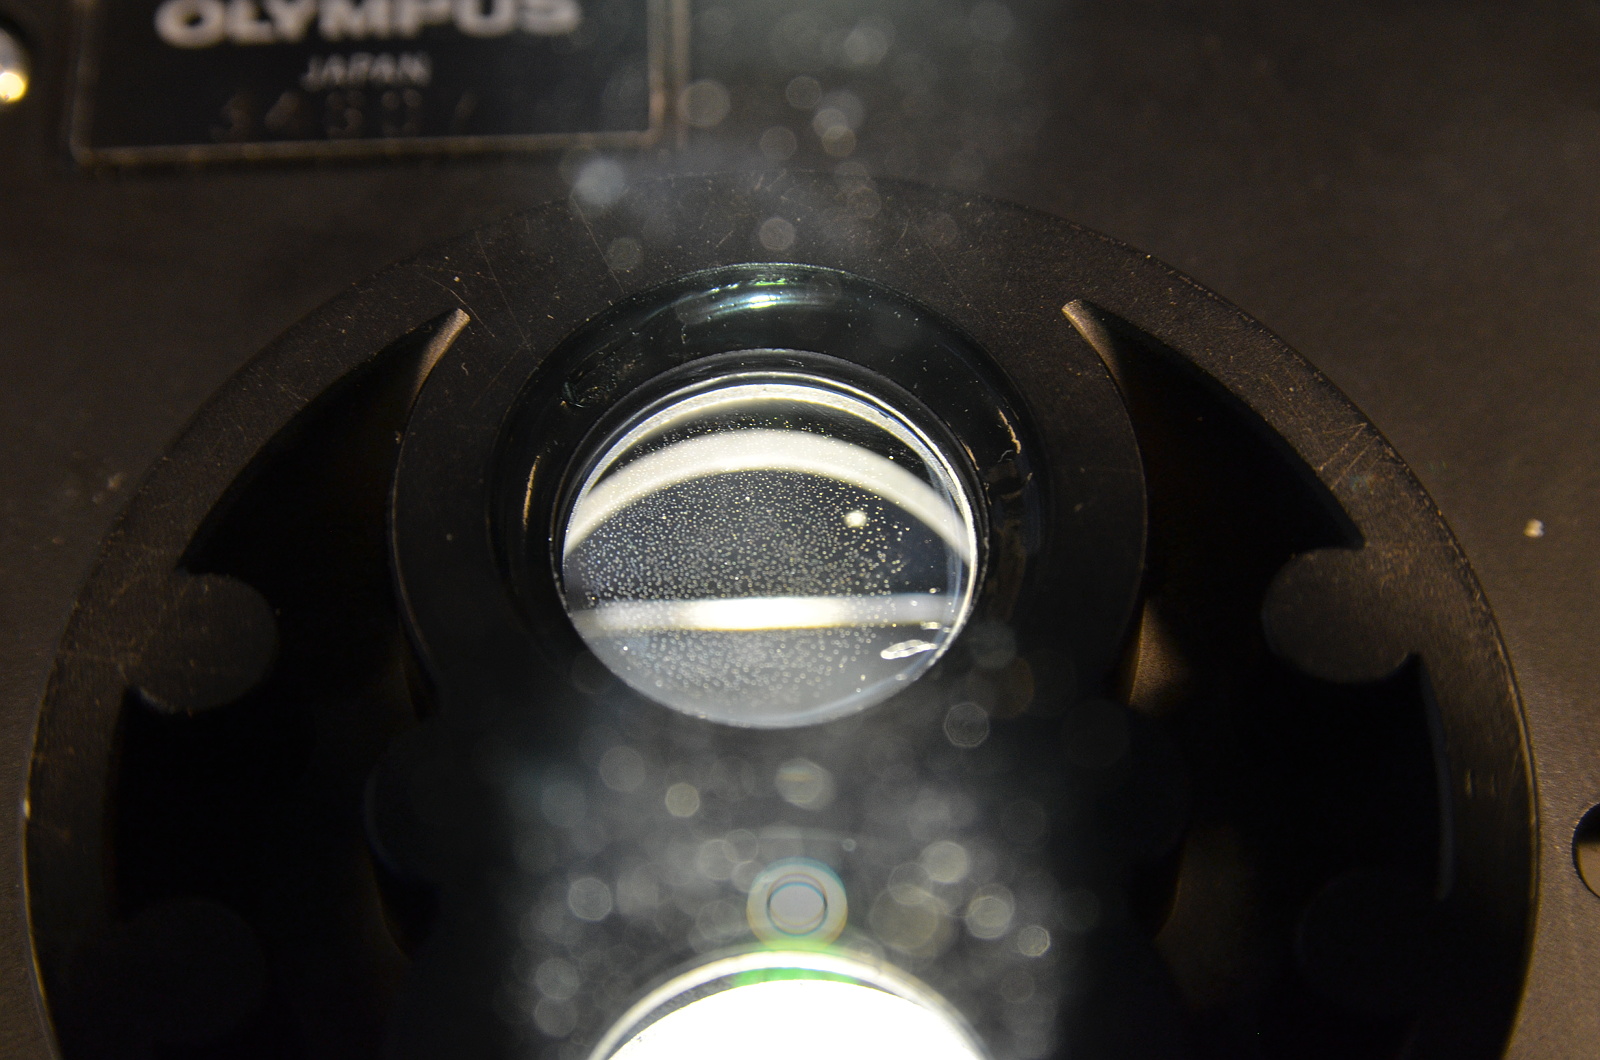
The main stereo-path doublets are disintegrating. That 'sand' in the lens is the optical cement bonding the lenses together breaking down.

The good news is I have spares, and the spares appear to be fine. I suppose I could also disassemble and re-cement them, though I don't trust myself to do an Olympus-level alignment job.

xiphmont: (Default)

Electronics assembly!

But does it, for the lack of a better word, chooch?

Yes, it chooches.

Adding the pot to test the adjustment, it turns out my BuckBlock is sourcing more than 500uA-- it's actually closer to 625uA. Also, it's firing up at ~1.5v rather than ~ 1.75v. That means I want a 2.2k low-end resistor and a lower pot resistance. So I modded another 10k linear pot into a 13k exp-ish pot, and continued assembly.

Everything goes together as intended and looks nice.

But there's a snag; I knew there was a good chance the optics wouldn't play as well with the SZH as I hoped, and in fact, the focus behavior isn't working well once on the scope. The illuminator works, and alignment is spot-on, but it's focusing an image of the lens at working depth, which is suboptimal. Also due to the suboptimal focus, lots of light is getting wasted inside the scope as it scatters out of the parallel-light/infinity focus portion of the optical path.

I'm going to have to play more with it.

xiphmont: (Default)

After evaluating several different canned collimators, I chose the oddball Ledil Tina spots as having the best behavior when used with the illuminator head optics. They're stick-ons, so I stuck 'em on, and added a few tacks of UV-cure resin as well.

Inital heatsink assembly with LEDs, DC jack and BuckBlock looks good!

The intensity adjustment on the BuckBlock is voltage controlled and sources 500uA; the data sheet suggests feeding it through a 20k potentiometer to ground. That has two [minor] problems.

I'm using a pot with detents, and the way the adjustment curve goes, I'd end up with dead notches at both ends of the adjustment range. Second, the adjustment curve is linear and it would be nice to have more resolution in the low range. Intensity perception is exponential.

The first problem could be solved by using a 15k pot and adding a fixed 3k resistor at the lower end. The second problem is usually solved by using a log-taper pot (or in this case, I'd need an exponential, so I'd hook it up 'backward'). The problem is no one makes log-taper 15k pots, and certainly none with detents. Also, I already have linear-taper 11-detent 10k pots, and I don't feel like wasting them.

The usual trick of turning a linear-taper pot into a log taper with an extra resistor doesn't work here. I need an exponential taper, not a log taper. This is where older tinkerers usually start whipping out transistor circuits, and the more recent crowd embeds an entire microcontroller and writes software to get the desired curve.

I'll admit I played with a transistor circuit for a little while but my pots turn out to have a third problem-- the first and last steps are 1/5th the step size of the middle eight. That's when I realized I didn't want to work around a suboptimal part. The right part makes all these complications go away, and I can have the right part.

These pots are just carbon-element-on-phenolic-inna-can. So I pried the can open, and scraped the resistance element into the resistance and curve I wanted with a hobby knife. I cut the last step into an open (which will cause the adjustment's current source to float up to full-range), and trimmed the first step down to give a bigger step.

Now I have a the right part: a 15k pot that goes exactly to full-range in increasing steps. No additional electronics.

Today's work is done: I need to let the silicone holding the BuckBlock in place cure and the paint on the adjustment boss dry. Tomorrow I wire it up and test the assembled electronics.

xiphmont: (Default)

Earlier this year, when I was building mods for my Olympus SZH microscope, I planned a coaxial illuminator using LEDs. The design got... a little out of hand...

...and I put it aside.

Last week I stumbled upon noq2's blog, where he documented his LED mod for the same microscope. It's the polar opposite to what I was doing. His is simple, brute force, and gets the job done. Go have a read, it's nicely done (and his animated gifs of the SZH internals are great). And did I mention it's actually finished and working? :-)

This inspired me to reconsider what I was doing.

I mean, I know what I was thinking: a design worthy of the rest of the absurdly overbuilt Olympus. I mean, just look at the original collimator! They use front-surface mirrors in the light source!

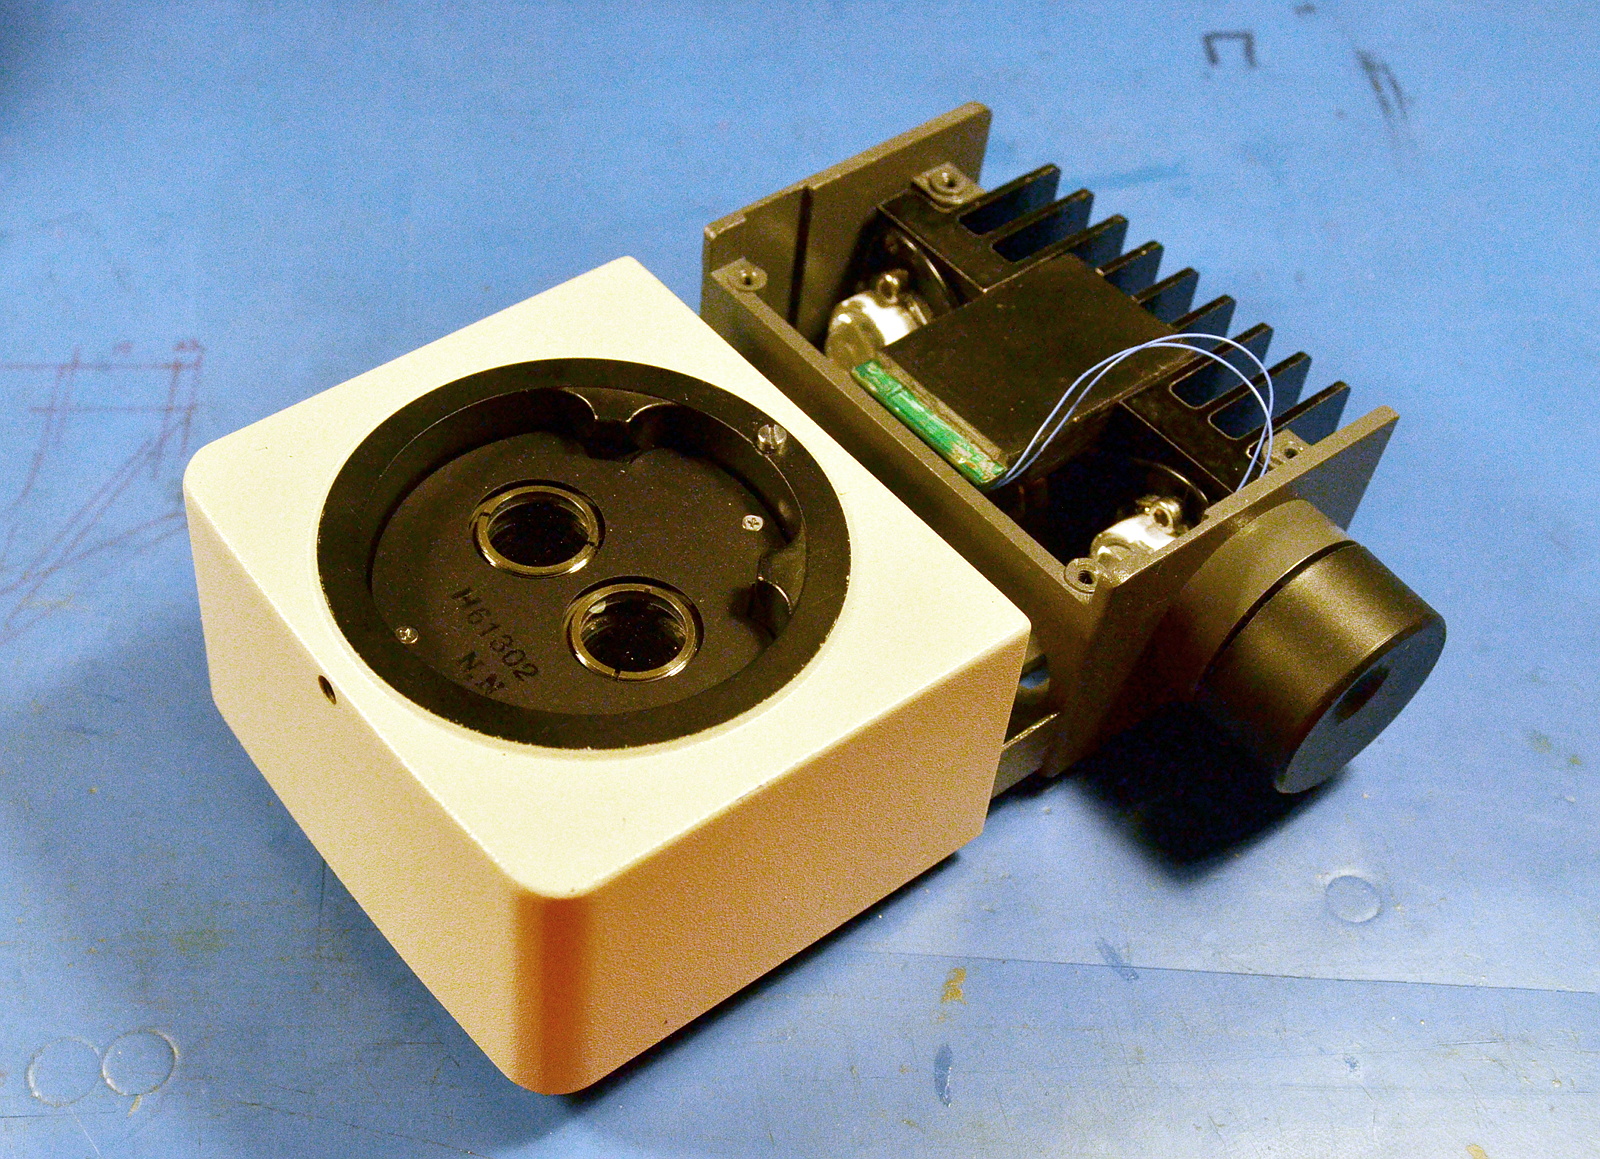
Also I didn't want to sacrifice any original Olympus parts. Complete SZH coaxial illuminators still sell for over a grand. But that's mostly because they're usually missing accessories needed to operate them (the bulb holder and transformer) which I didn't need. Last summer I picked up a bare illuminator block for $90. That's cheap enough I'm willing to mod it permenently.

Then I saw noq2's build. It was brilliant. And even better, I can have everything I originally wanted with a dead-simple addition.

The whole 'tactical flashlight' craze has spawned a smorgasboard of cheap, canned collimation optics for LEDs. They're even better than lenses as they sit all around the emitter instead of a distance in front, so they catch more light. Most are 90%+ efficient.

So I'm taking what noq2 did and slapping a $2 spot-collimator on front. No muss, no fuss. Well, I have to fuss a bit, so I'll put the driver electronics inside the housing, and add an intensity adjustment too. Still not *much* fuss.

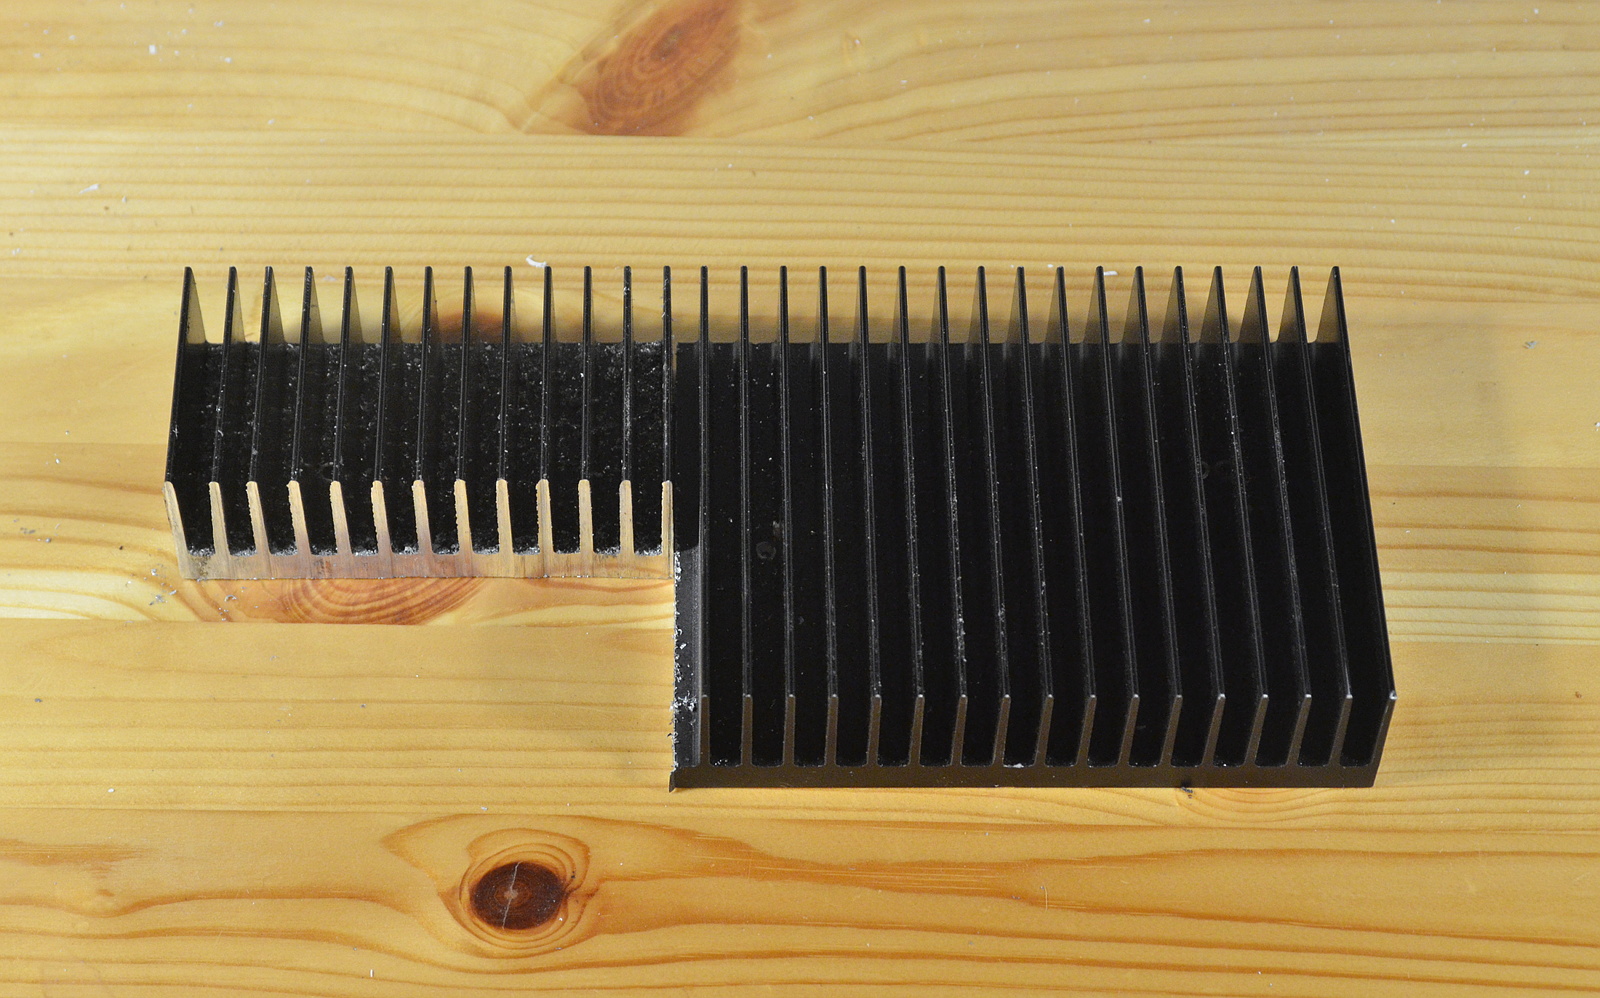
...beginning with hacking off a big ol' chunk of heatsink using a dull beaver...

and cleaning it up a bit on a sharper beaver.

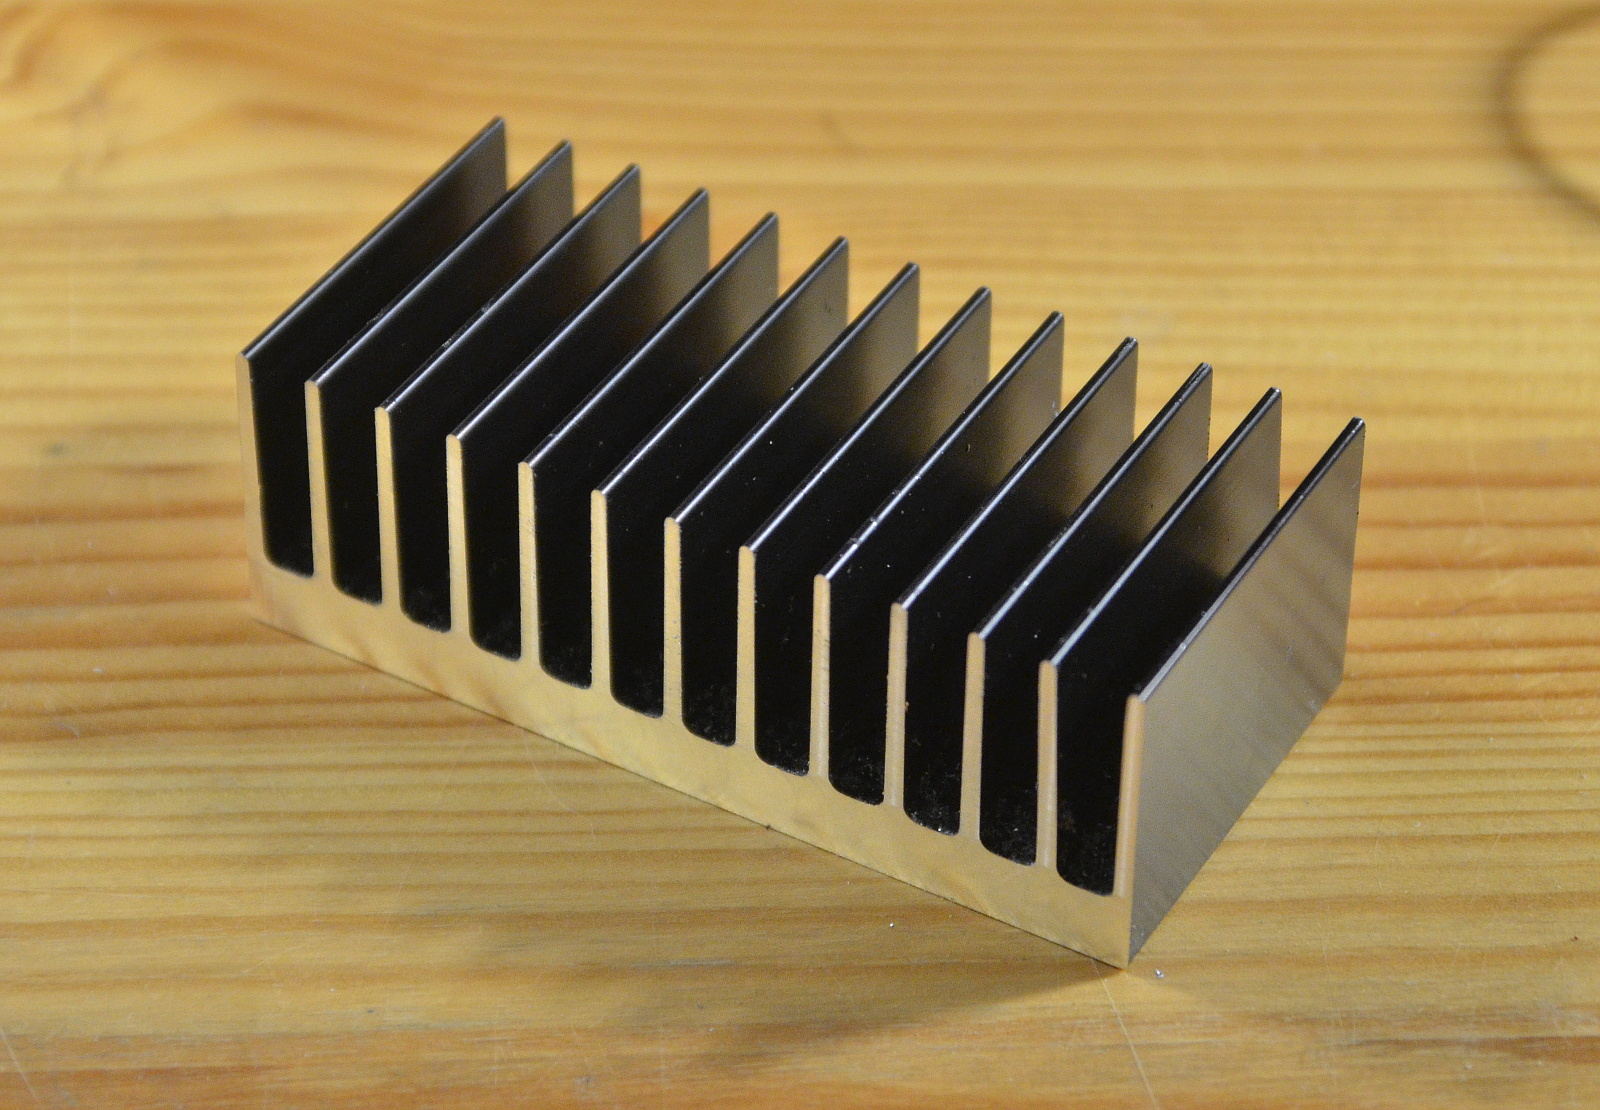
Trim to fit the existing enclosure, with an eye toward reusing the existing mounting holes on the enclosure's rear boss. Also drill and tap holes for LED mounting, power jack, and a notch for a BuckBlock controller, and we end up with something like:

I want an intensity adjustment knob, so I stole the boss off the prototype I machined earlier this year. Along with bolts, a really nice 11-position-with-detents potentiometer, and the aforementioned LED optics (but not including wires) we finally end up with this exploded build:

Next up will be a little paint, a schematic, and build/test.

xiphmont: (Default)

I have two assembly microscopes: A mediocre Chinese AmScope (which is nonetheless convenient, small, and a pleasure to use) and a monster 1980's Olympus SZH for when I need resolving power, like high-resolution photos.

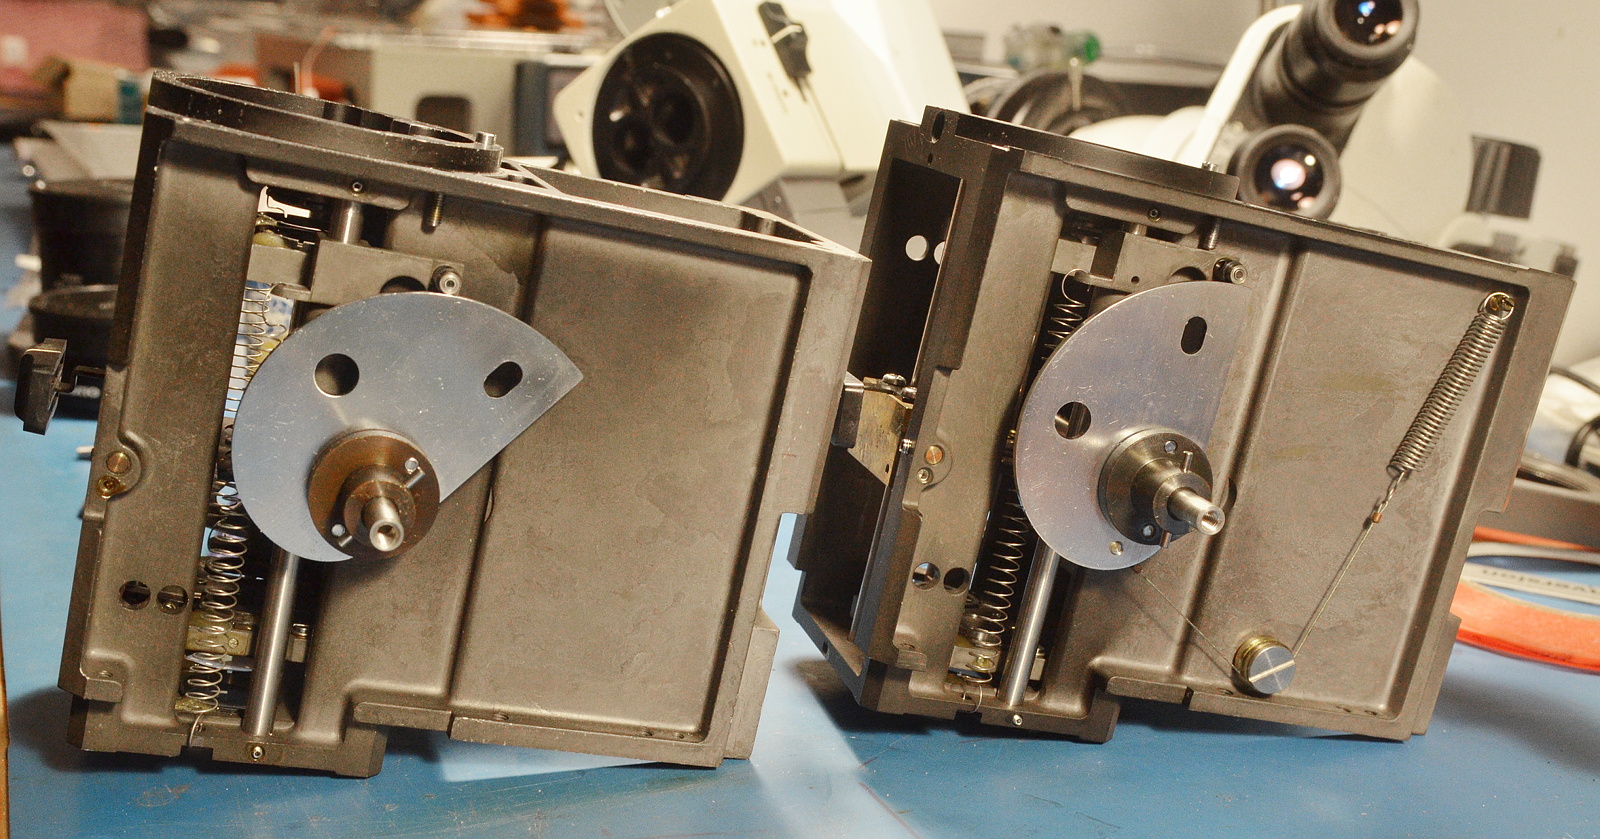
Aside from size, the SZH has a big annoyance: The zoom setting won't stay put at low magnification. It's a cam and roller mechanism with real bushings and bearings throughout, and it's so low-friction that the stage springs constantly pull the zoom out of the low magnification range. I'm guessing this is part of the reason for the click-detent system in its successor.

I picked up another SZH body recently for parts, just in case, and it didn't have the same problem. It needed a serious cleaning, so I opened it up. And HUH.

What do you know. Olympus added a counter-balance spring at some point. Completely eliminates the problem.

xiphmont: (Default)

Finally, assembly... and confirmation of non-embarrassing results.

Read more... )

xiphmont: (Default)

There's one thing left to worry about. The left hand focus knobs are, for whatever reason, set in toward the centerline of the focus block about a quarter of an inch compared to the right. The coarse knob almost-- but won't quite-- clear the SZH's uniquely wide microscope body.

If only I had some roughly 80-mil plate with which to fashion some spacers! Oh right...

(/me fishes spacer pieces from previous adapter attempt out of the scrap aluminum pile)

OK! First I need a ring spacer to set the coarse focus knob further away from the centerline.

Done! Now, the fine focus knob needs to be set away as well.

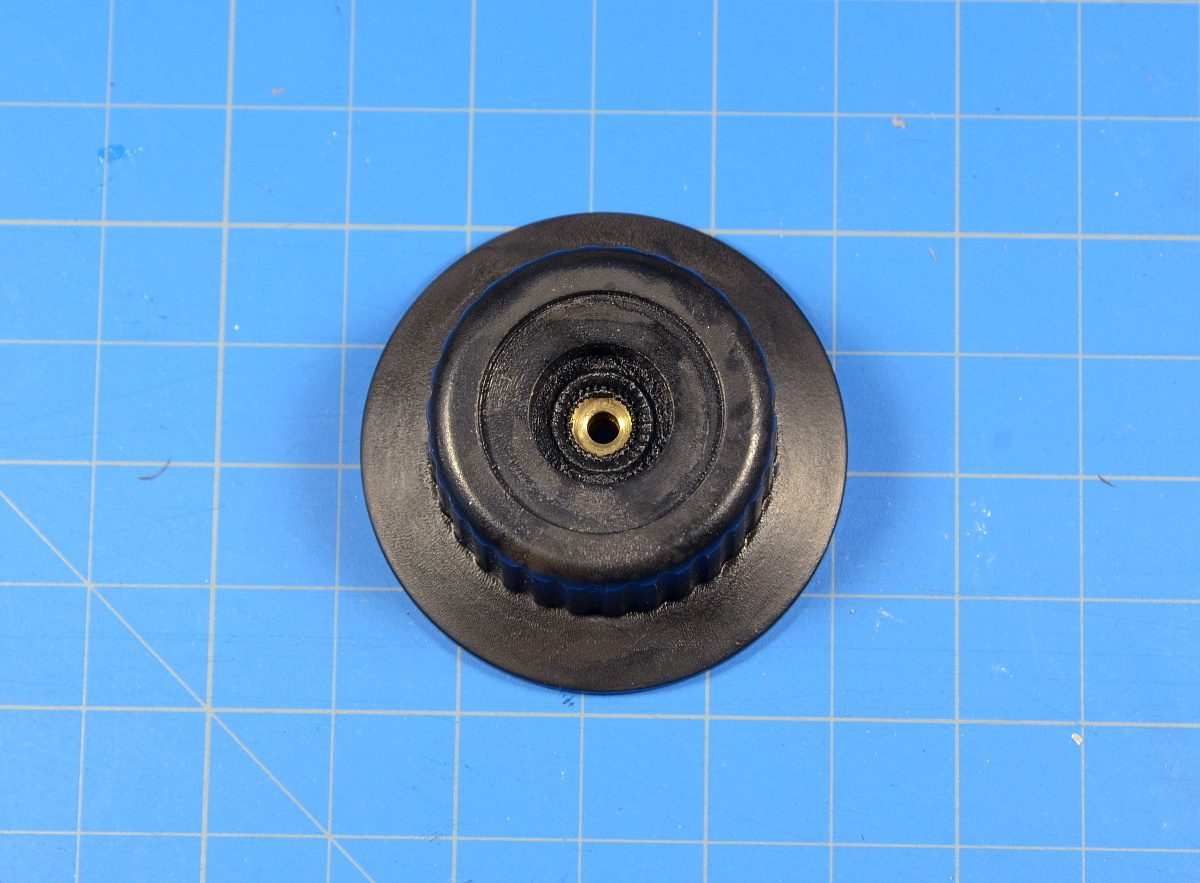
I considered making a shaft spacer, but it will weaken the overall assembly. Instead, I heated the brass inset in the fine focus knob until the ABS softened, then pushed it in 80 mil. I did use a guide to make sure it pushed in straight and flat-- no wobbling allowed.

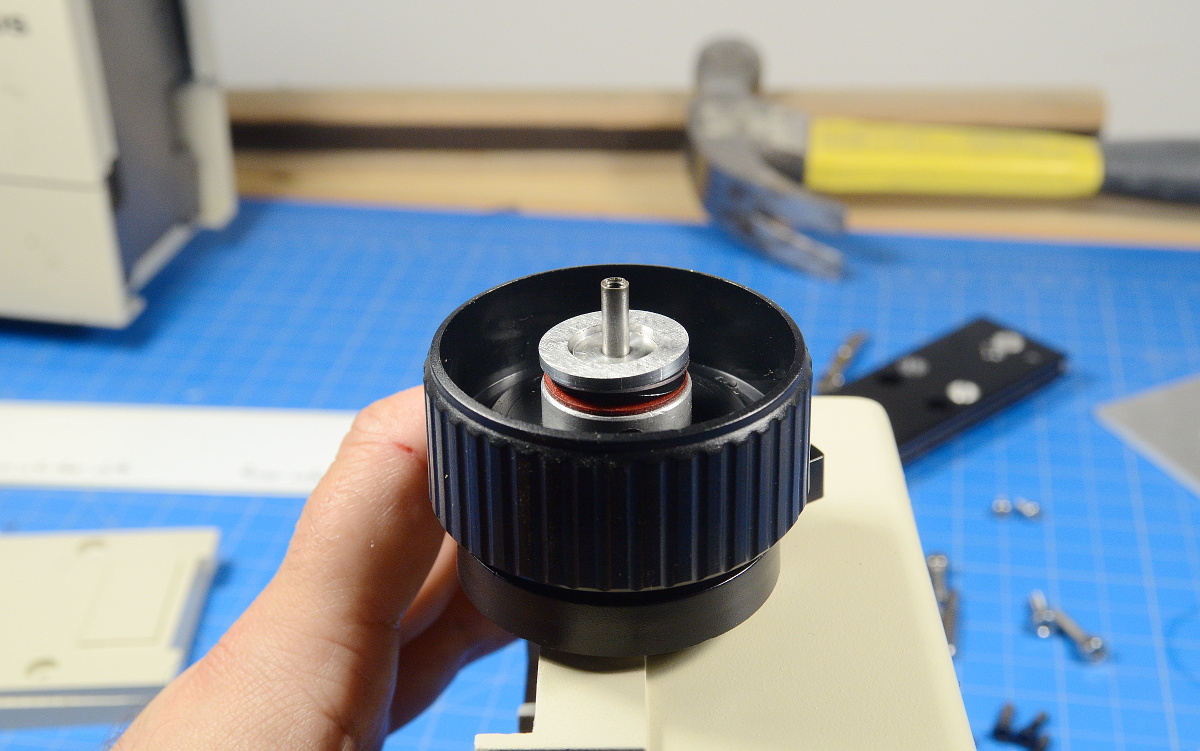
The fine focus also has a spring-loaded friction mechanism to add a little resistance to it drifting. One side is built into the knob, which I just moved out 80-mil. So I need an 80-mil spacer to take up the slack.

Don't worry, the hammer in the background is a specially designed precision optics hammer.

xiphmont: (Default)

*THUNK*

That's more like it.

And a Micromill ain't no toy.

xiphmont: (Default)

I've set myself three requirements for the focus block graft:

  1. No modifications whatsoever to the original SZH microscope body
  2. End result has to work exactly as intended. No half-functional hacks.
  3. The end result must look professional, bordering on factory quality.

My original plan: Remove the microscope body mount from the block's dovetail, cut the ring part off, machine the remaining bit flat and add some additional bolt holes to secure it to the SZH.

And that kinda sorta works!

Unfortunately, the remaining block is not quite deep enough for the adjustment knobs to clear, nor is it tall enough to reach all four mounting holes on the back of the SZH body. That means I need to machine a spacer that would have to bolt to the mounting block, then those two pieces could mount to the dovetail and the scope.

Then I thought 'what am I doing?', chucked it, and grabbed a piece of aluminum that's actually the right size to start with.

So let's do this part again.

xiphmont: (Default)

Sadly, no Chinese manufacturer to date has cloned an SZH, but there are clones of other Olympus focus blocks.

None of these will fit as-is of course, the SZH is weird. But several look to be moddable with a little effort. So I chose a clone of a nicer Olympus coarse/fine assembly.

And now, a review of the FYSCOPE STEREO ZOOM MICROSCOPE COARSE AND FINE FOCUS ARM A4 76mm Size! Read more... )

xiphmont: (Default)

The SZH is not without its faults.

This is the focus block for an original Olympus SZH. It moves the microscope body up and down to focus on the work surface.

Read more... )

xiphmont: (Default)

I actually like my AmScope. It's not exactly precision-manufacture and god only knows what glass it uses, but it's durably made, fairly ergonomic, and works well for the price. Only one regret: The camera port is damned near useless.

For some reason, Chinese stereo scopes mostly appear to be clones of old, low- and mid-range Olympus designs. That planted the Olympus bee in my bonnet.

You've probably heard that Nikon is a world-class optics manufacturer that just happens to make cameras. Well, Olympus is a world-class optics manufacturer that just happens to make microscopes.

Looking for no-holds-barred top shelf stereo optics, the current top of the Olympus stereo line is the SZX12. Which is awesome and even broken surplus parts are so far out of budget it's not funny. Mostly the same for the SZX10, its slightly less featureful little brother.

But it turns out the very top of the discontinued predecessor line, the SZH10, is similar enough that it takes many of the same accessories and was every bit as good a scope. And the SZH10 was just a minor feature tweak of the earlier SZH.

And the SZH line is so gloriously 1980s. I mean, just look at this ad. It's not a stereo zoom. No, it's a *super* stereo zoom. And raytracing is involved somehow. And lightning. This here 'scope is obviously real wrath-of-god stuff.

Anyway, the rest is serendipity: There just happened to be enough cheap-ish parts on eBay to hopefully piece together a complete SZH with no major flaws.

Parts have arrived, so here we go...

xiphmont: (Default)

Remember a few weeks ago when I expressed some dissatisfaction with my AmScope's picture quality?

Well, I've put another iron in the fire: Collecting parts off eBay to build a once-top-of-the-line Olympus SZH. Now waiting for more bits to start trickling in.

xiphmont: (Default)

It tries so hard to look like an Olympus SZ series, but no.... not quite.

It's not actually terrible, it's fairly decent. But it's not the real thing either.

Profile

xiphmont: (Default)
xiphmont

Syndicate

RSS Atom

Most Popular Tags

OSZAR »